
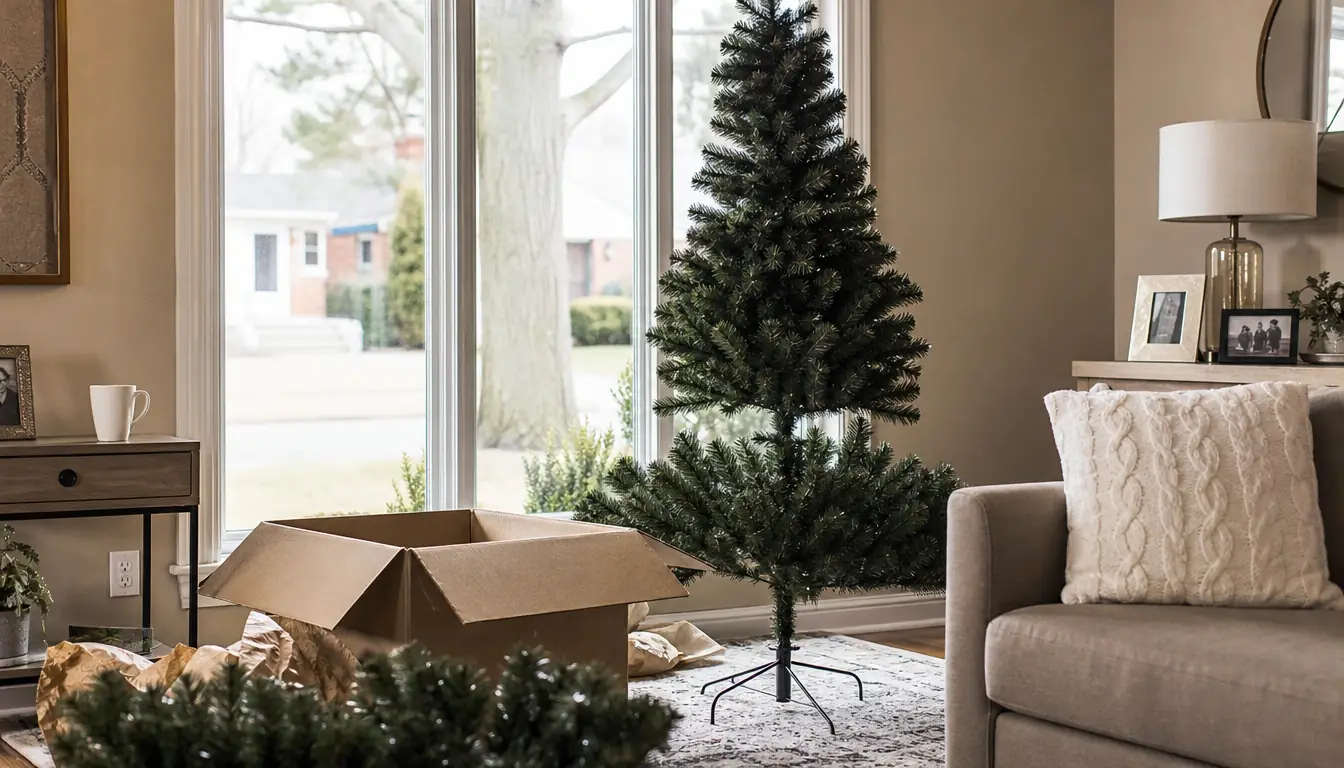
The first Christmas I put a tree up in this house, I lost a Saturday to lights. The tree was bare back then, seven feet of dark branches, and I unwound every strand, tested it on the floor, wound it through the branches and stepped back to find a whole run of bulbs had gone dark. Then I did the same job in reverse the first week of January. For the better part of twenty years, that was simply what December cost me.
Three Novembers ago I bought the hykolity 7.5 ft prelit tree, and the job split into two pieces that both fit inside one afternoon. Standing it up is about 20 minutes. Opening the branches is about 40 more, and I do that part sitting on the floor with the radio on and nobody asking me for anything. The tree came with 450 warm white LED lights already wired on, 1,450 branch tips, hinged sections and a metal stand. What follows is the order I do it in, because the order is the part people get wrong.
Twenty Minutes to Standing, With No Strands to Untangle
The lights are already wired onto the tree and the sections fold down flat. That is the entire reason the first weekend after Thanksgiving stopped being a chore at this house.
Amazon Check Today's Price on Amazon →Before You Start
Two things make this go smoothly, and neither one is a tool. The first is a second pair of hands for the trip up the basement stairs. In this house that is Gary, and carrying the box up is the whole of his involvement. The second is an outlet you can reach without dragging an extension cord across the carpet. The tree runs off one plug and it should be the plug right behind it, not a cord taped down where somebody will trip over it in the dark.
I clear the spot by the front window before anything comes upstairs. Mine measures 90 inches tall and about 54 inches across at the base, so the corner needs to be empty first, and that includes the floor lamp that normally stands there and the basket of library books that collects beside it. Once the floor is clear, Gary brings the box up and sets it down in the middle of the rug. I open it flat and set the lid to one side. Everything stays in the room until the tree is finished. Nothing gets carried back down until January, and by then I am in no hurry to touch it.
Step 1: Lay the Sections Out in the Order You'll Stack Them
Open the box and take the pieces out one at a time, setting each one down in the order it will go onto the tree. The piece for the bottom lands nearest the window, the pieces that stack on top of it go behind, and the stand with its bolts goes off to one side where I can see it. Doing this first means I am not digging through packing material with a section of tree in my arms and no place to put it down.
Keep the box and every scrap of cardboard that came in it. Mine goes back into the same box every January and rides down to a shelf in the unfinished basement, and that box is a large part of why the tree still looks like it did the first year. I also lay an old bedsheet down before any of this starts. The branches shed a few loose needles coming out of storage, and the sheet turns that into a thirty second shake outside instead of a vacuum job on the rug.
Step 2: Set the Stand and the Bottom Section First
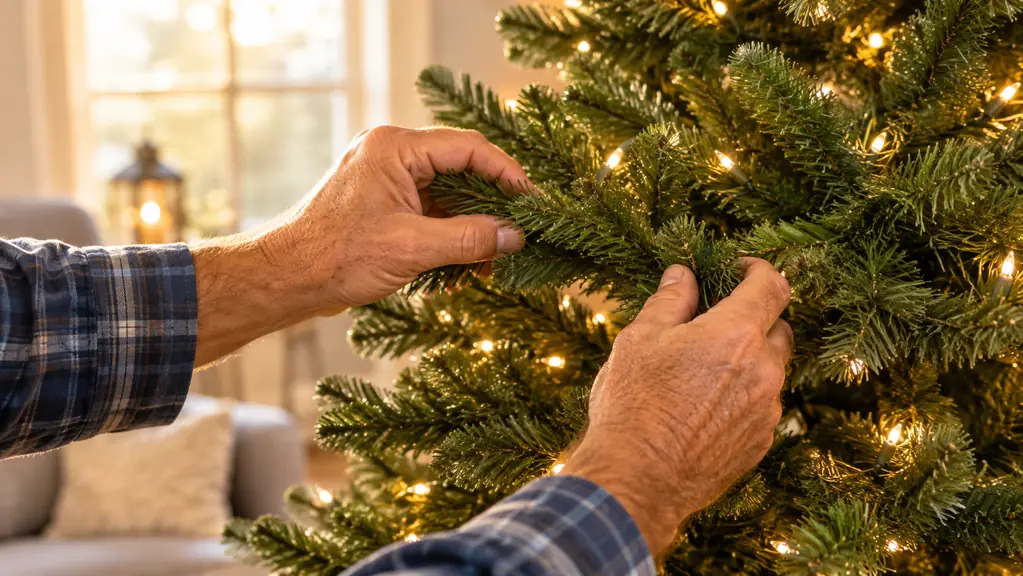
The stand goes down where the tree actually lives, not out in the middle of the room where there is more elbow room. The hykolity tree sits in the front window, and the metal stand that came with it is what holds the whole thing up. I open the legs out, set the bottom section into the cup, and start the bolts by hand. Then I check that the trunk stands straight before I tighten anything down for good.
The first year I put this tree up, I tightened every bolt before I checked anything, and I spent the whole of December looking at a tree that leaned toward the glass. Now I lay a cheap plastic level across the top of the stand and look at it before the bolts get snug, which takes ten seconds and saves me a month of noticing. Gary steadies the top section with one hand while I work the bolts, and that is the only other thing he does besides carrying the box. Then I rock the trunk gently and, if there is any wobble at all, I loosen the bolts and reset the section. This is the one part of the job I will redo rather than live with.
Step 3: Stack the Sections and Connect the Plugs as You Go
The sections are hinged, which means the branches fold up against the trunk for storage and drop down when a piece comes out of the box. I set each section on the one below it, give it a small turn until it settles onto the post, and then reach inside and connect the light plug for that section before I move up. Doing the plugs as I go means I am never up on a step stool later, fishing behind branches for a connector I can feel but cannot see.
The connectors only go together one way, so if one fights me I turn it around instead of pushing harder. Each joint takes a second. When the top section is on, I walk a slow circle around the tree and look for a plug still hanging loose. There is almost always one, and finding it now is a good deal easier than finding it after the branches are open and the ornaments are already hung. I learned that the year I hung ornaments before checking. Six of them had to come back off so I could reach the connector, and they sat in a bowl on the end table until the tree was lit again.
Step 4: Fluff From the Inside Out, Bottom to Top
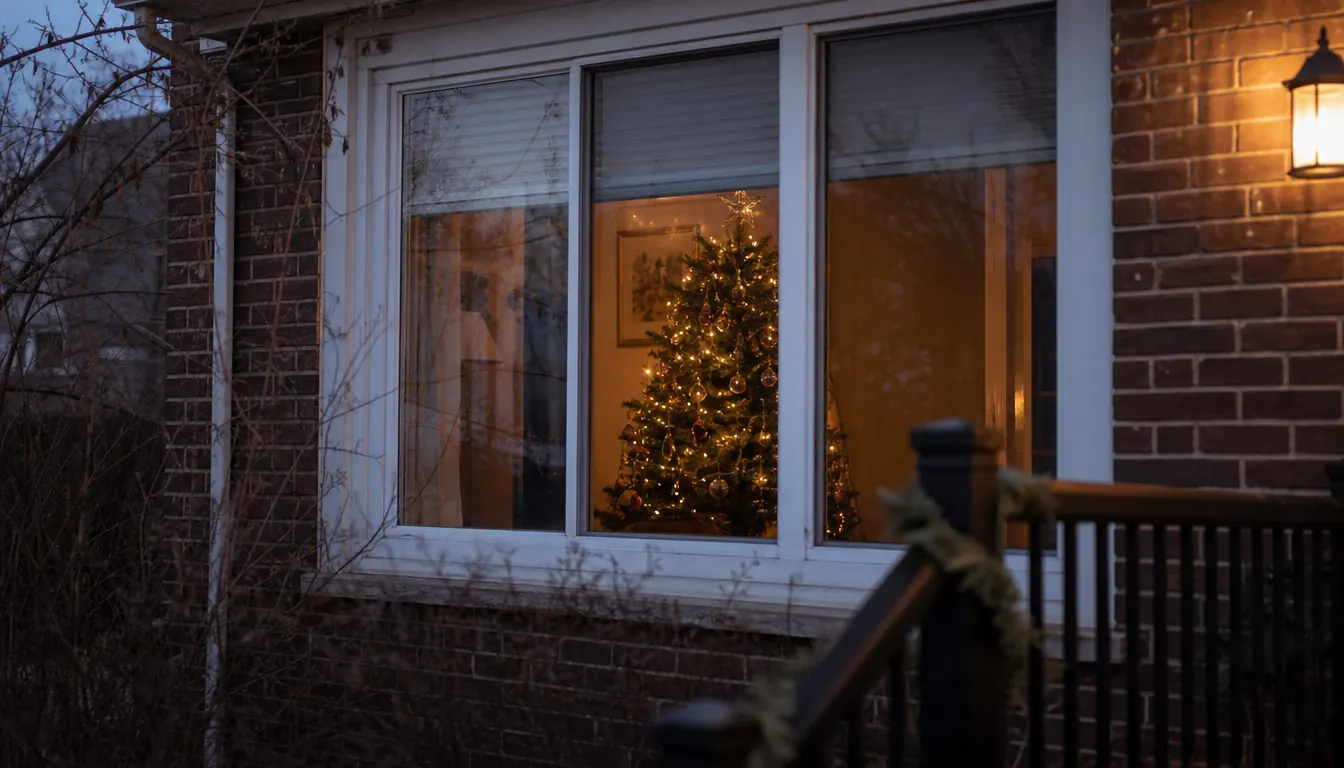
This is the part that separates a tree that looks like a tree from a tree that looks like a wire frame with branches bolted to it. There are 1,450 tips on the hykolity tree, and they arrive pressed flat against the trunk from a year in the box. I start at the bottom and work in a slow spiral upward, section by section, separating each pair of tips and then bending the branch out away from the center.
The inside comes first. Those branches close to the trunk get pushed up and in toward the middle to fill the hollow, because a tree you can see straight through is a tree that shows its own trunk. Then the branches on the outside get angled down and out, with a slight upturn right at the end. The ones pointing at the floor get lifted, the ones pointing at the ceiling get eased back down. It is not fussy work. It just takes longer than you think it will.
I do the whole thing in one sitting with a cup of coffee going cold beside me, and I wear a long sleeve shirt. The needles are plastic and they will scratch a bare forearm by the two hundredth branch. Forty minutes is about right for me. If you only open half of them, you will see exactly which half when the lights come on. I know because I did that the first year. I got through the bottom two sections, decided it looked fine, and stopped. At dusk the top of the tree was a dark cone sitting on a full skirt of branches, and I was back on the floor the next morning opening the rest of it.
Step 5: Shape It From the Window Side, Then Plug It In
Once the branches are open, I walk outside and look at the tree through the front window. That is the view that matters here, because the tree stands in the window and the street sees it before anyone comes up the porch steps. From out there the thin spots are obvious. I come back in, fill the gaps by drawing a branch forward, and go back out to check again. Two trips is usually enough.
Then I plug it in. All 450 warm white lights come on at once, and this is when I find the one dark patch I missed. I do not fuss about it. Nine times out of ten it is branches pressed too flat against the trunk, and opening them up fixes the way the light reads. If a whole section stays dark, the plug for that section did not seat, and that is a two minute fix from the inside of the tree.
The ornaments go on last and they go on slowly, a box at a time, with the heaviest pieces low and the breakable ones where the tree meets the wall. The whole setup runs about an hour for me, and that is with a coffee break in the middle. The lights stay on the rest of the evening so I can see the tree the way the family will see it when they come through the door.
What Else Helps
A few things around the house have made the season easier without adding work. The banister gets one garland, 9 feet of it, battery powered with 3 AA batteries and 50 lights, because there is no outlet within reach of the staircase and I am not running a cord down the steps. The battery box tucks behind the bottom post and the garland goes on with soft fabric ties, no nails, no tape. I tie it in four places, one at each end of the run and two spaced along the rail, so it keeps its shape every time the front door opens and the draft comes through. It sheds a little of its silver glitter the first day out of storage and then settles down for the season.
The mantel gets flameless candles instead of real pillars. I have a set of 9 wax pillars in a run of heights and they all work off one remote, and I stopped burning real candles up there after one too many wax drips on the wood. The tallest goes at the back against the wall so it reads as height and not as clutter, and the short ones flank it. The remote lives in the drawer of the end table and only I touch it. In the fall I set three small foam pumpkins around them, the light ones that ride in a shallow basket so the wind does not take them off the porch table.
Then there is the ornament box, the least exciting purchase I have made and the one that saves me the most grief. Mine is fabric with a zipper, 24 by 12 by 12 inches, with 54 slots and a card slot on the front for a label. It holds about 50 ornaments, and it goes back on a basement shelf, never on the floor. Before it, the ornaments lived in cardboard boxes with newspaper, and every January I found one or two cracked.
Twenty minutes to stand it up and forty to open every branch. It used to take an afternoon just to get the lights on, and half of them were out by New Year.
Fourth Season, Same Twenty Minute Setup
Hinged sections that fold down, 450 warm white lights wired in place, and 1,450 tips to open by hand. That is the whole job now, which is why the box comes up earlier than it used to.
Amazon Check Today's Price on Amazon →