
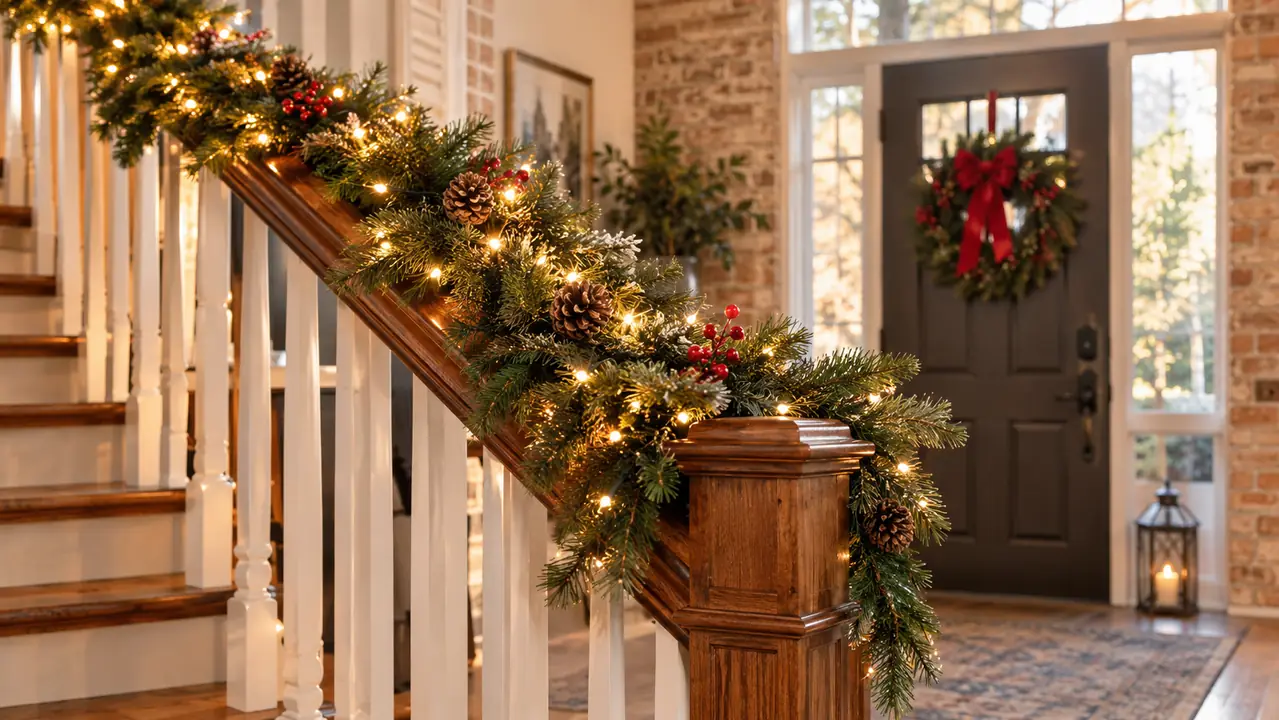
Every November somebody on our street ties a garland to a porch post with zip ties, and by January the ties have bitten grooves into the paint and the branches are mashed flat where they went around. I did my own version of that for years. I screwed little cup hooks into the banister, which meant every spring I had to look at the holes. One year I was running late and used tape, and the tape lifted a patch of finish off the handrail. That was the year I decided there had to be a better way, or at least a way that did not cost me a repair every spring.
The garland on my banister now is the National Tree Company 9 foot Crestwood Spruce pre-lit garland, and this is its third Christmas. I bought it two Christmases ago, so it has been up twice and it is about to go up a third time. What made me pick this one over the plain garland I had before is simple. The lights are already in it. Fifty lights on a garland 9 feet long, running on 3 AA batteries. That last part matters more than it sounds like it should. There is no outlet anywhere near my staircase, and I was not going to run an extension cord across the hall for six weeks so a garland could glow.
Fifty lights, three batteries, no cord across the hall
The National Tree Company Crestwood Spruce garland is 9 feet long with 50 lights already strung and a battery box that tucks out of sight behind the post. It is the reason my staircase takes twenty minutes instead of an afternoon.
Amazon Check Today's Price on Amazon →Before You Start: What You Actually Need
You do not need much. A tape measure, scissors, a dozen fabric strips, a step stool, and the garland. That is the whole list. Every year I watch people buy a package of adhesive hooks and a roll of floral wire for this job, and the hooks let go the first warm day and the wire rusts into the paint.
The one thing worth spending on is the garland itself, because it is the only part you will look at for six weeks. A short garland on a long rail looks worse than no garland at all, and a garland with the lights already strung saves you the afternoon I used to lose every November. I sat on the floor for years with a plain garland and a string of lights, winding and unwinding, and by the end my back ached and the lights still had a dead section. Buying the National Tree Company garland ended that particular chore in one purchase.
Height matters too. My handrail sits about 34 inches above the stair treads, which is standard for a house of this age. If yours is taller, add one more tie and let the garland hang a little lower on the outside edge, so it stays in view from the room instead of sitting up at eye level where nobody notices it.
Step 1: Measure the run and decide where the garland stops
Before anything comes out of the box, walk the stairs with a tape measure. My run from the newel post up to the wall is a little under 9 feet, so the garland covers it and still has a few inches to loop around the post at the bottom. If your run is longer, you have two honest choices. Buy two garlands, or let this one cover the lower half and leave the top plain. Do not stretch it. A stretched garland looks thin and stingy, and once it is tied there is no fixing it.
Decide which end is the bottom before you start, because you will work upward. I start at the newel post and finish at the wall. That way the battery box ends up down low where I can reach it without leaning over the stairs, and the loose end at the top gets tucked behind the last tie where nobody sees it.
While you are standing there, look at the railing itself. Mine is painted wood with a rounded handrail and square posts. If yours has a finish you care about, and you do or you would not be reading this, plan on fabric ties only. No cup hooks, no nails, no staples, and no tape of any kind. I learned that one the hard way and I am still a little annoyed about it two years later.
Step 2: Fluff the branches and test the lights before it goes up
A garland straight out of storage looks like something you pulled out of a hedge. Every branch is pressed flat from months in a box, and if you tie it up like that it stays flat all season. Spread it out on the floor or over the back of the couch. Work from one end to the other, pulling each branch away from the center wire and bending it slightly outward.
The National Tree Company garland has over a hundred branch tips, and the tips carry silver glitter. The first year I opened it, that glitter shed a fine dust all over the carpet and I was sure I had ruined it. It settles down after the first handling and I have not noticed it shedding since. If you want to save yourself the vacuuming, fluff it over a sheet and carry the sheet outside to shake.
Then put the 3 AA batteries in and turn it on while it is still on the floor. It is far easier to deal with a dead section or a loose bulb in the living room than on a staircase in December with the lights half tied. Give the fluffing twenty minutes and do it properly. It is the least pleasant part of the job and the part that makes the most difference on the stairs.
Step 3: Cut fabric ties and place one every 18 inches
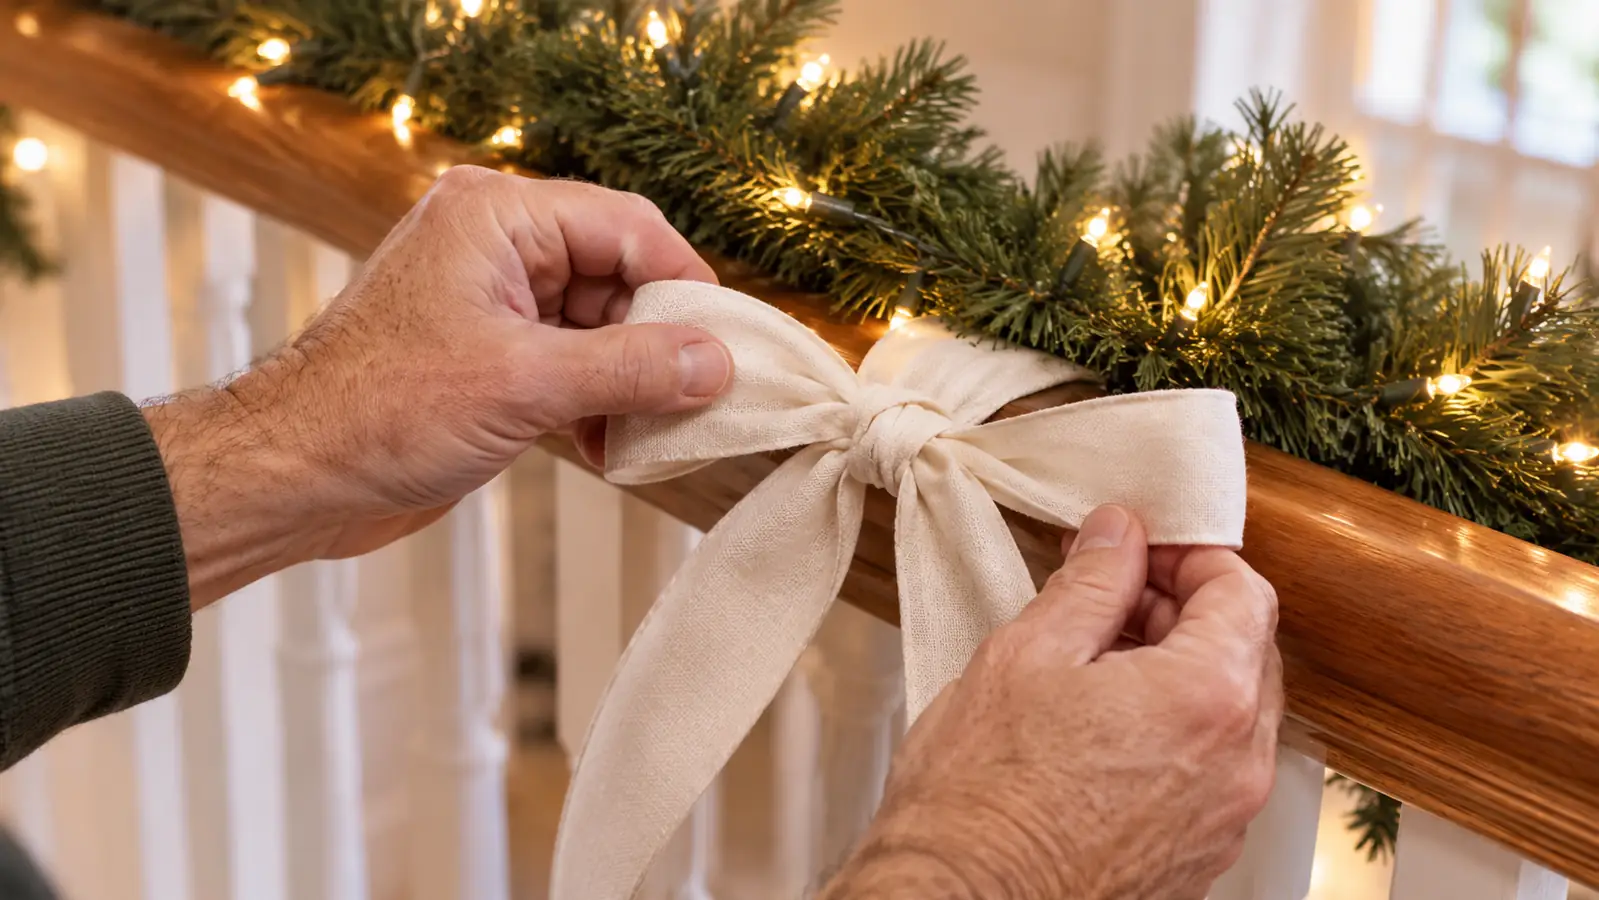
Go to the fabric drawer and cut strips about an inch wide and eight or nine inches long. I use an old cotton bedsheet that already had a tear in it, and I cut a dozen strips every year whether I need them or not. You want something soft that will not rub the finish and will not crush the branches where it passes around them. Ribbon works too, except it slips, and I got tired of retying it.
Tie the garland to the handrail, not to the balusters. Wrapping it around and around the whole railing looks homemade in the wrong way, and it hides the railing you paid for. One tie every 18 inches or so is plenty. I put a tie at each end first and then fill in between, which comes to six ties for my run.
Tie it snug but not tight. The garland should rest on top of the rail and drape a little over the outer edge, not grip it like a fist. Check with one finger. If you can slide a finger under the tie, it is about right. Tie each one in a bow rather than a knot, so taking it down in January takes four minutes instead of twenty.
Step 4: Shape it as you go, working from the bottom up
Here is where the garland starts to look like something. Work upward from the newel post, tying as you go, and every time you finish a section, step off the stairs and look at it from the hall. That is the view you will have all season and it is the only view that matters.
Let the garland run along the top of the handrail and fall a few inches over the outside edge. Pull a couple of branch tips down and out so the shape is not a straight tube. If a light ends up facing the wall, twist that section a quarter turn before you tie it. Fifty lights over 9 feet is not a lot of light, so every one of them needs to be doing some good from the room.
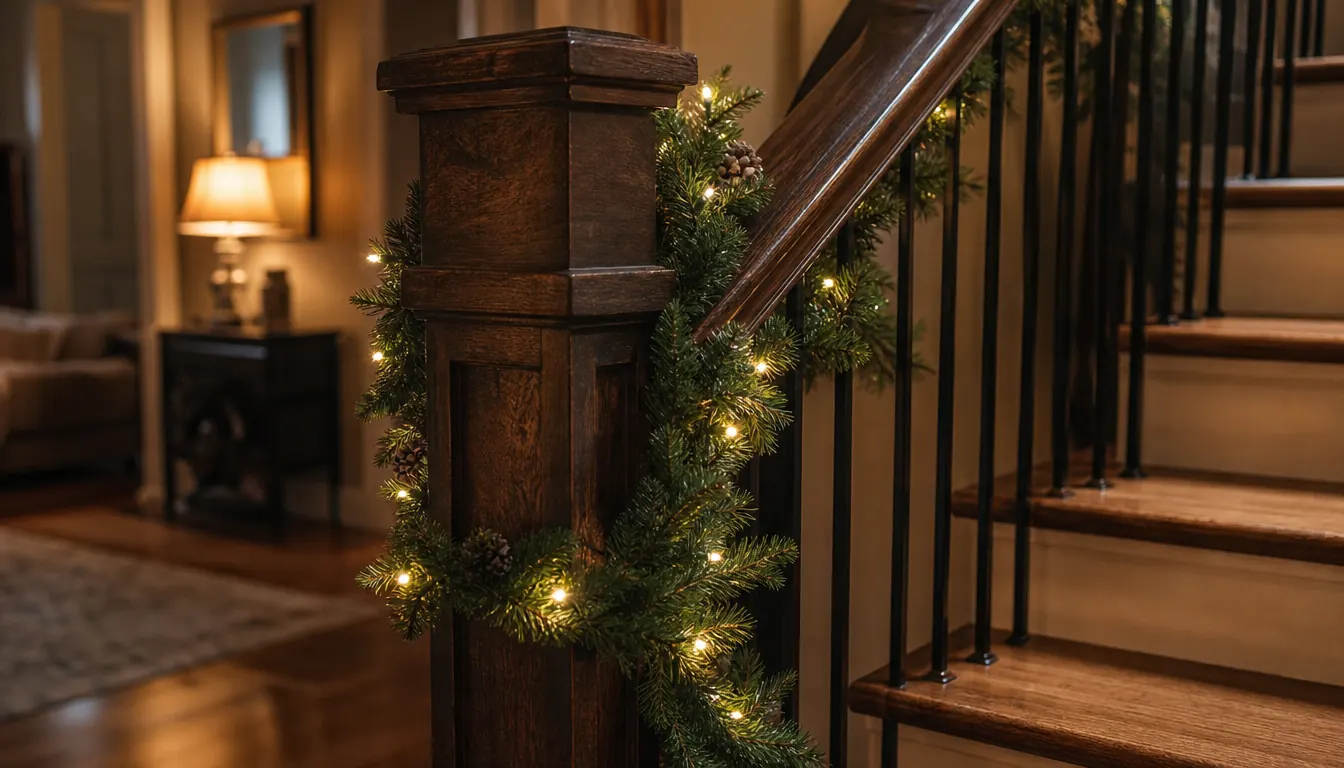
At the newel post, loop the last foot or so around the post once and let the end hang. That loop is what makes the whole thing look finished rather than clipped on. Then tuck the very end behind the post so the wire is not showing. Mine drapes just below the handrail and I leave it exactly like that for six weeks.
Step 5: Hide the battery box and settle the lights
The battery box on mine is a small rectangle that holds 3 AA batteries. It rests behind the bottom post, on the stair stringer, where you cannot see it from the living room, and the wire runs up the back of the post to the garland. Nothing is taped to anything. The garland itself holds the wire in place.
Put a fresh set of batteries in when it goes up. I change mine the weekend after Thanksgiving and they last until the first weekend of January, turning the lights on at dusk and off before bed. Leave it running all night and you will be changing them sooner. There is no timer on this one. It is a switch and my own two hands, and I do not mind, because I am the one who wants it lit.
One last check before you call it done. Stand at the front door and look toward the stairs, then stand at the bottom of the stairs and look up. If the garland reads full from both places, you are finished. If a section looks thin, that is where a spare tie and a couple of minutes of rearranging go.
What Else Helps
A second garland on the mantel would look nice and I am not going to pretend I have one. My mantel carries the flameless candles and that is the whole arrangement. One lit thing in the front window, one lit thing on the stairs, and the room reads warm from the street, which is the actual goal.
A few small habits make the job easier next year. Keep a spare set of 3 AA batteries in the same box as the garland, so you are not hunting for them the night you put it up. Store the garland loosely in the box it came in, not squashed under anything heavy, and fluffing takes fifteen minutes instead of forty. And write the date on the battery box with a marker if you are the kind of person who cannot remember when you last changed them, which I am.
If your run is long and you want lights on all of it, a plug-in garland is cheaper per foot and you will never touch a battery again. That only works if there is an outlet within reach, so measure first, standing in the hall with the tape measure, before you buy. I did it the other way around, which is how I ended up with battery power, and it turned out to be the right answer for this house anyway.
Two Christmases behind it and a third coming, and I have still not put a single hole in that banister.
Twenty minutes of work, then it is done until January
9 feet, 50 lights already strung, 3 AA batteries, and a battery box that hides behind the newel post. This is the garland on my stairs, and it is the difference between a job I dread and a job I finish before Gary has his coat off.
Amazon Check Today's Price on Amazon →